One of the biggest hurdles of democratizing Deep Learning has been the need for a GPU accelerated environment. If we want to spend our time efficiently testing and learning across problem statements we need a GPU-based server. But these GPU based environments across platforms like GCP, AWS, Azure, Paper-space can amount to a huge cost. This cost when combined with the cost of storage and if we are using instances that are persistent may really add to the burden on our money bag.
But some amazing news came in when Kaggle and Google Colab introduced GPU-enabled kernels which can be now used to decipher and solve deep learning problems across the problem statements without the need to buy a GPU.
To learn and understand how to make use of the attractive features the world of Google Colab encompasses, we will be making reference to the article above which contains a detailed explanation in order to set up your Google Colab.
Kaggle Notebook and Kernel
Although, the workflow of Kaggle Notebook is kind of related to that of Google Colab. However, for all the learners who are big fans of the Kaggle Notebook, this one comes as a big gift.
Let’s quickly look at the steps needed to implement a GPU while using the Kaggle Notebook.
Step 1: Create a Kaggle account by signing up at Kaggle.com
Step 2: Go to your created profile.
In the top left of the page, you will see your profile. You can click on it and go to “my profile”.


profile on Kaggle
Click on the 3 line bars at the top right corner of your page, showing Home, Compete, Data, Communities, Courses. However, click on Notebooks.

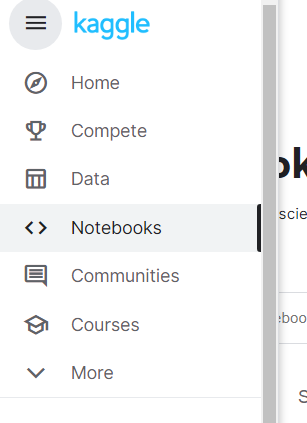
click notebook
Thereafter, checking the top right corner of the displayed page, New Notebook is shown, click on this as well.

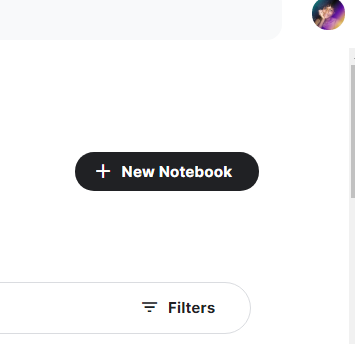
new notebook
A new notebook gets fired, the same as the one displayed below.

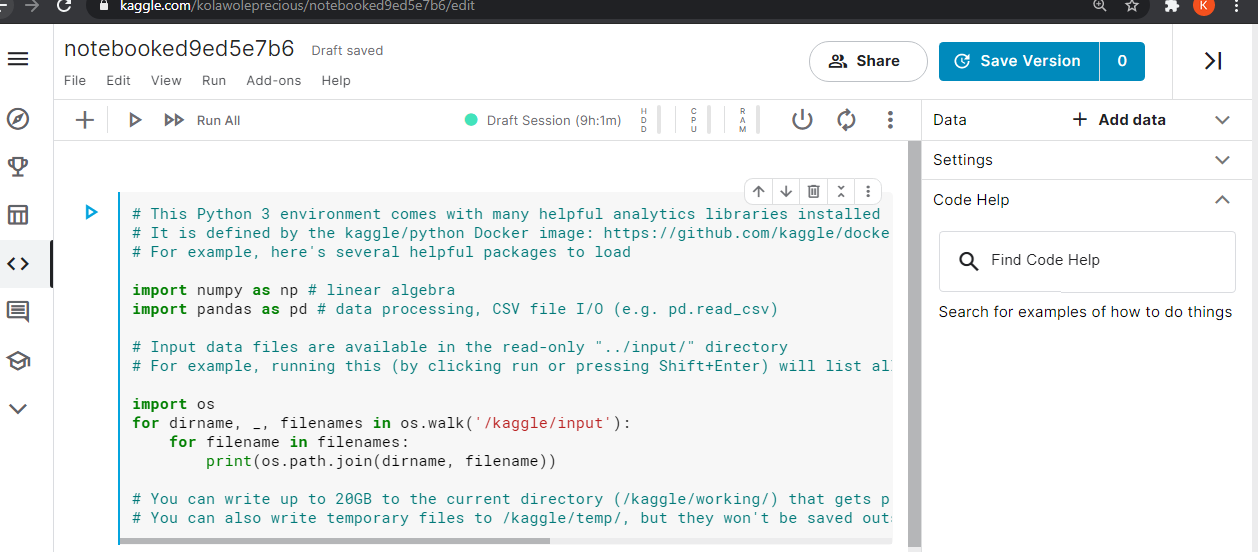
newly fired kernel
Step 3: Set Up and Enable The GPU
Over to the right side of your Kaggle notebook, you will see a couple of dropdowns, like Data, Settings, and Code Help.
Data: While working with the dataset gotten from Kaggle competitions, all datasets provided for the competition can be automatically imported into our notebook by just clicking down the Data tab, uploading the name of the competition using the Add Data >> Upload icon. Meanwhile, working with other datasets from your local machine is made easy as well. Add Data>> Upload a Dataset.


uploads buttons
Settings

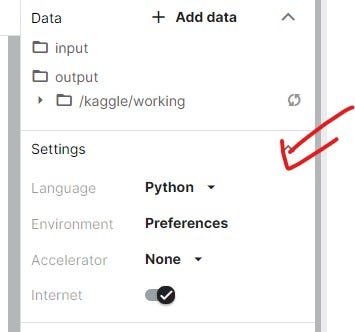
settings options
Click down the Settings tab and you will see a toggle switch for Language, to set the type of programming language you want to work with either Python or R.

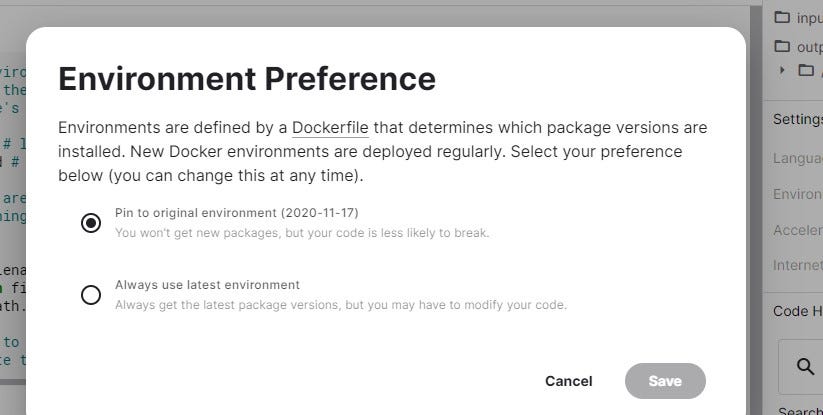
environment
This explained much about the environment toggle.

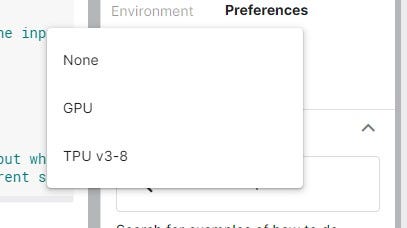
accelerator
On clicking the toggle switch specifying Accelerator. The pops up are shown above. You can set it to None, GPU, or TPU.
Note: GPU is strongly recommended for running Deep Learning Models. However, Kaggle has a quota for GPU usage. It can be accessed 42 hours per week. So, always remember to turn it off when not in use.

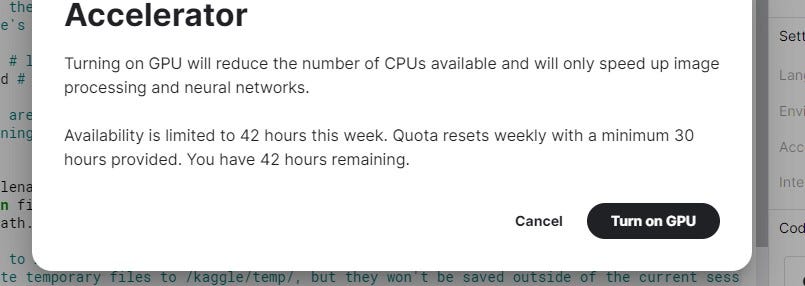
turn on GPU
Enabling internet access on Kaggle kernels is meant for hastening the time required for your notebook to run, for connecting with big queries, for accessing Kaggle’s cookies for easy service delivery.


enable the internet
When the internet is enabled. Your Kernels session restarts and the newly started session is enabled to access the Internet.
Finally, getting access to GPUs at no cost is an amazing thing. Both Google Colab and Kaggle have nice notebook frontends making it easier for users to work effectively. Additionally, it’s now possible to edit code interactively without an accelerator and only use a GPU when it is strongly needed i.e (executing the notebook top-to-bottom).
Happy Reading!
Editor’s Note: AIPlusOAU is a subsidiary of Data Science Nigeria based in Obafemi Awolowo University, Ile-Ife, Osun State. Our aim is to raise a community of Data Scientists, Machine Learning/AI Engineers, and Researchers. We are dedicated to supporting young talents to start and grow their Data Science skills.
Do follow AIplusOAU onTwitter for emerging trends in Data Science, Machine Learning, and AI.
